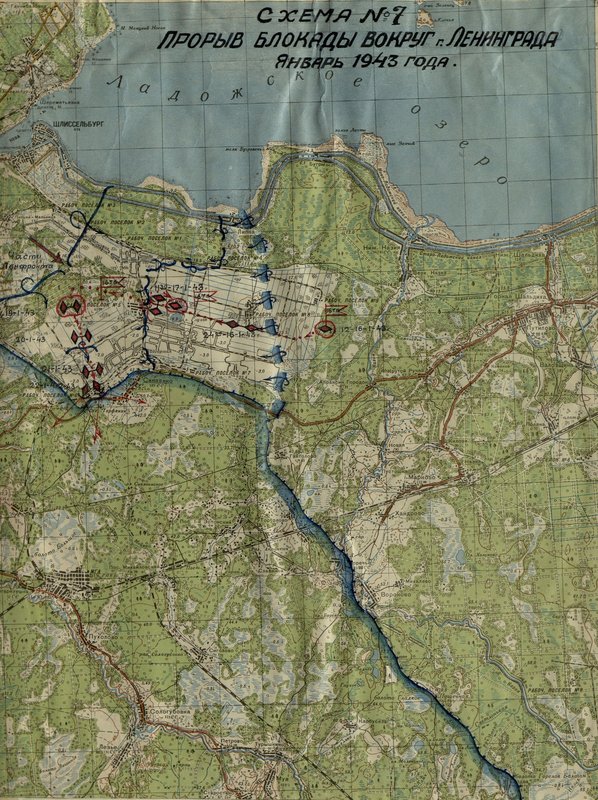
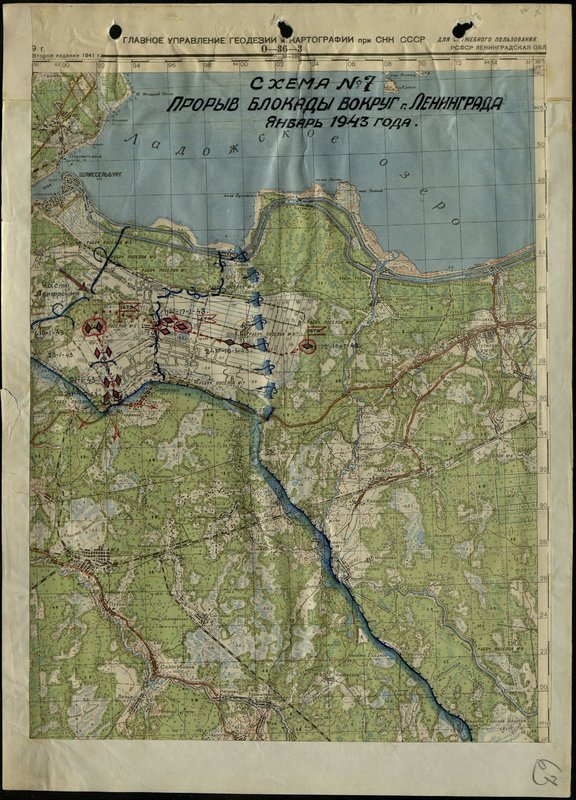
Image: Scheme № 7. Breakthrough of the blockade around the city of Leningrad
Original image: Scheme № 7. Breakthrough of the blockade around the city of Leningrad
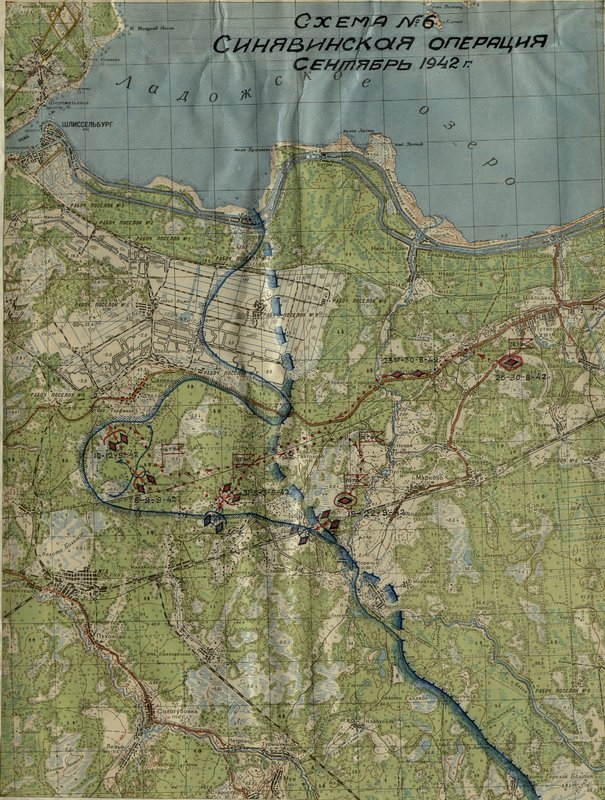
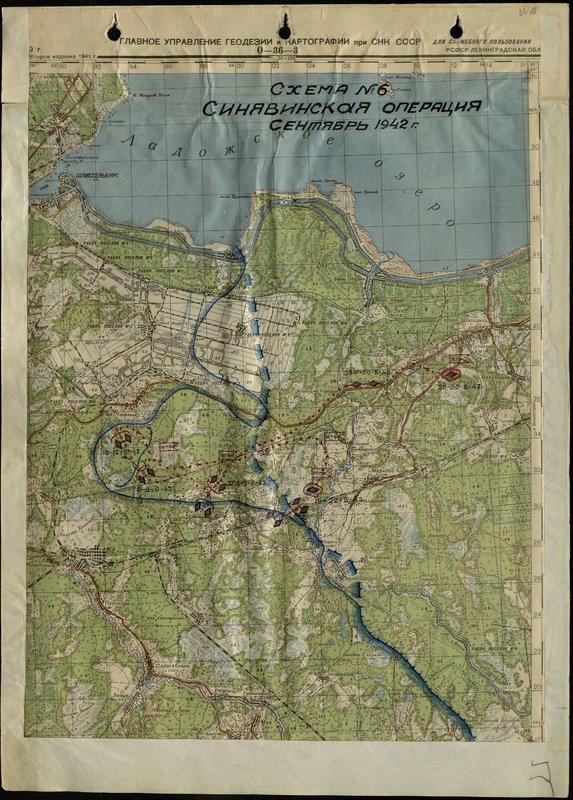
Image: Scheme № 6. Sinyavin fire position
Original image: Scheme № 6. Sinyavin fire position
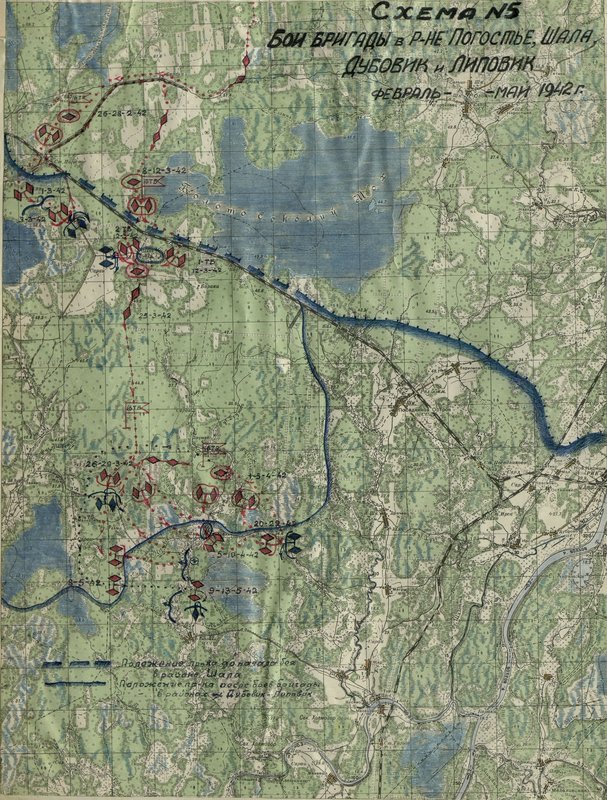
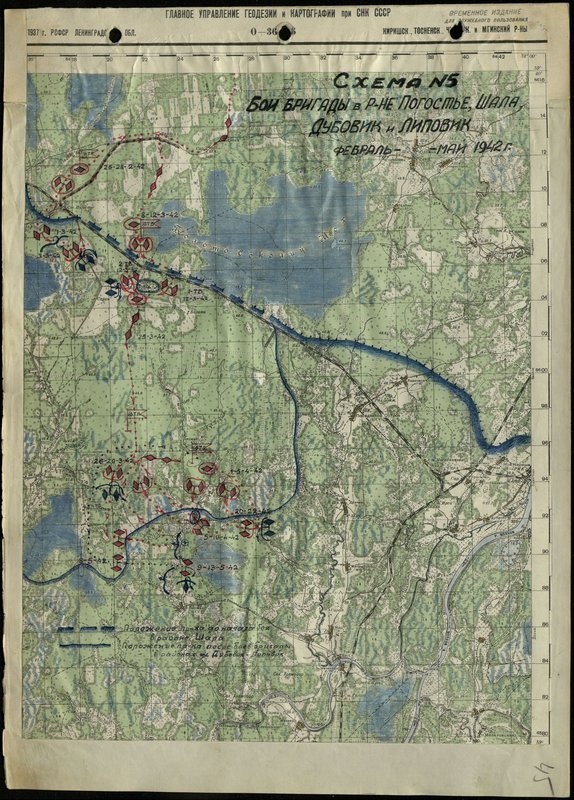
Image: Scheme № 5. Fighting of the brigade in the area of Pogostye, Shala, Dubovik and Lipovik
Original image: Scheme № 5. Fighting of the brigade in the area of Pogostye, Shala, Dubovik and Lipovik
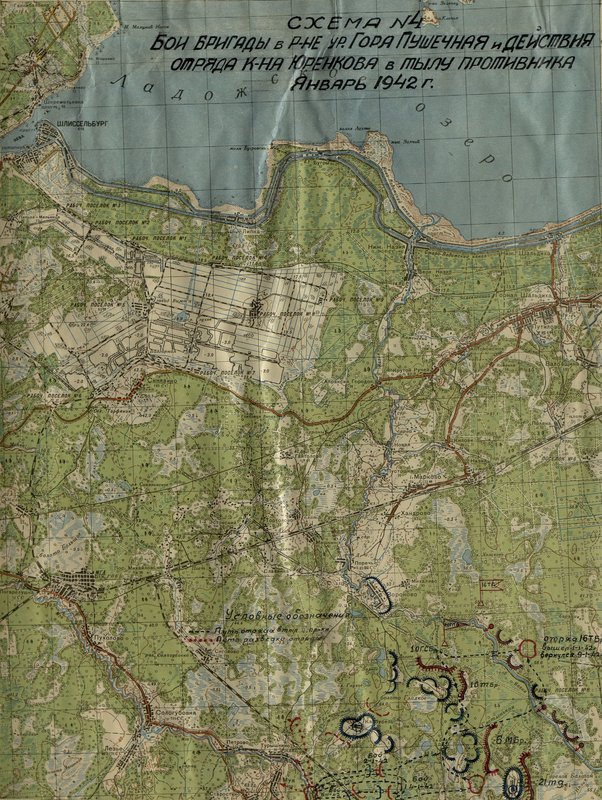
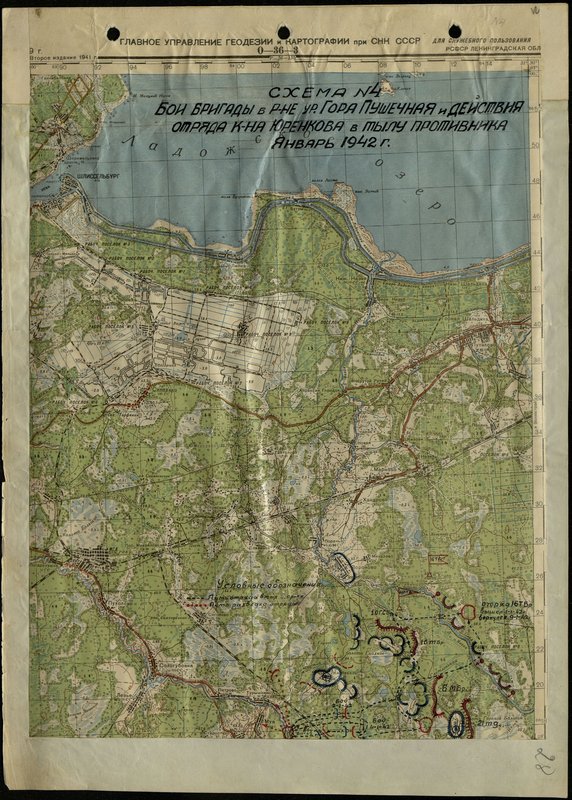
Image: Scheme № 4. Brigade battles in the area of ur. Cannon Mountain and the actions of Captain Yurenkov's detachment in the enemy's rear
Original image: Scheme № 4. Brigade battles in the area of ur. Cannon Mountain and the actions of Captain Yurenkov's detachment in the enemy's rear
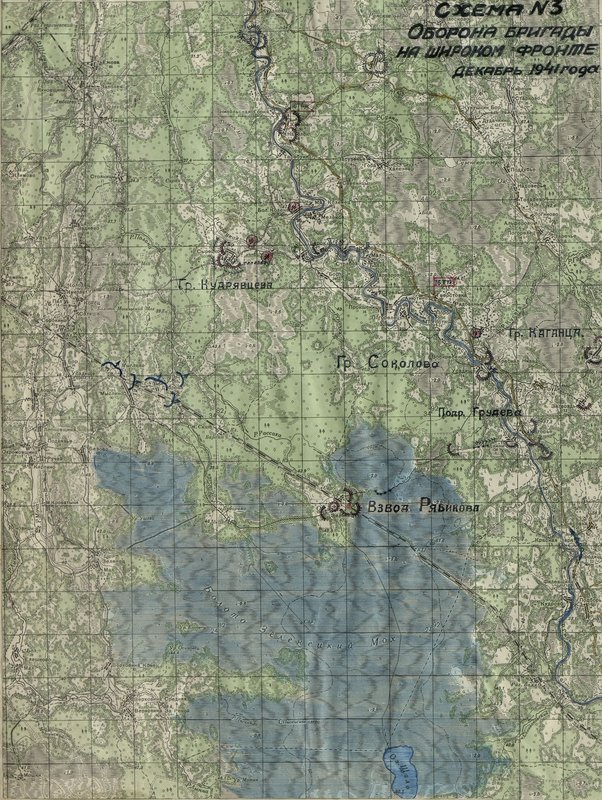
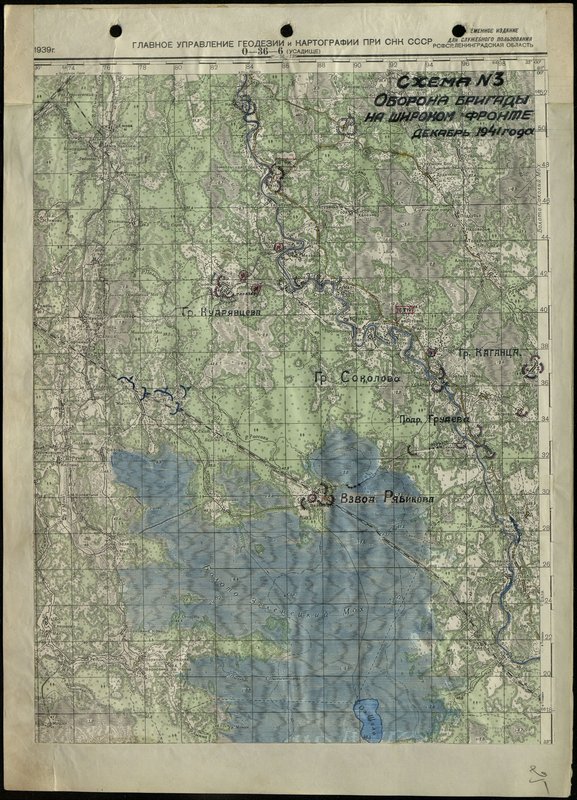
Image: Scheme № 3. Brigade defense on a wide front
Original image: Scheme № 3. Brigade defense on a wide front
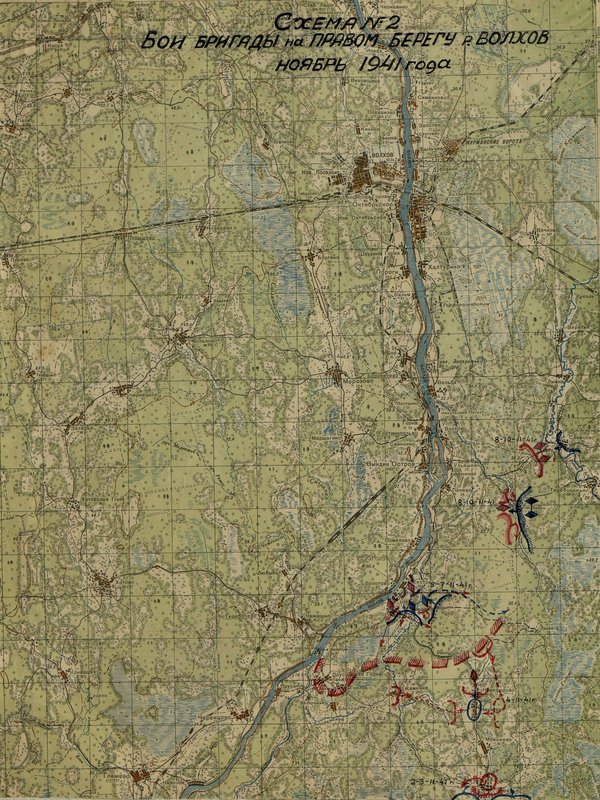
Image: Scheme № 2. Brigade battles on the right bank of Volkhov city, November 1941
Original image: Scheme № 5. Fighting of the brigade in the area of Pogostye, Shala, Dubovik and Lipovik

Original image: Scheme № 5. Fighting of the brigade in the area of Pogostye, Shala, Dubovik and Lipovik

Original image: Scheme № 5. Fighting of the brigade in the area of Pogostye, Shala, Dubovik and Lipovik

0 comment
Author
Unknown
Source
The central archive of the Ministry of Defence

2026 © Russian Military Historical Society Developed by Jetmix