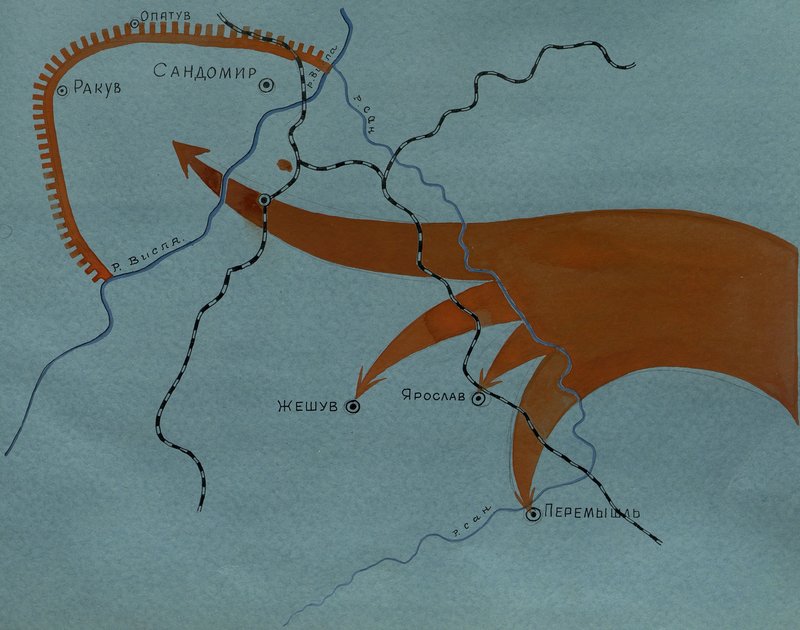
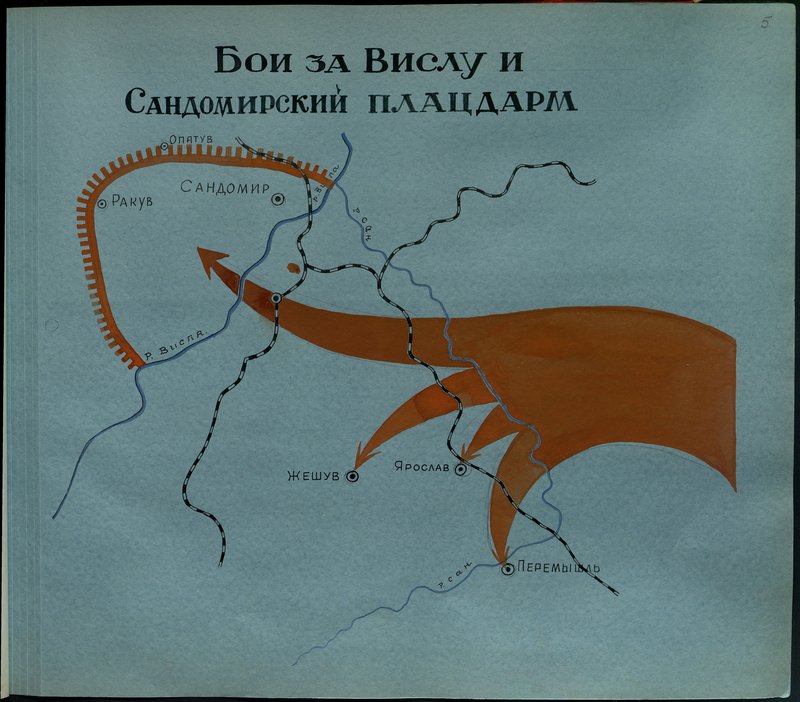
Image: Battles for the Vistula and Sandomierz bridgehead
Original image: Battles for the Vistula and Sandomierz bridgehead
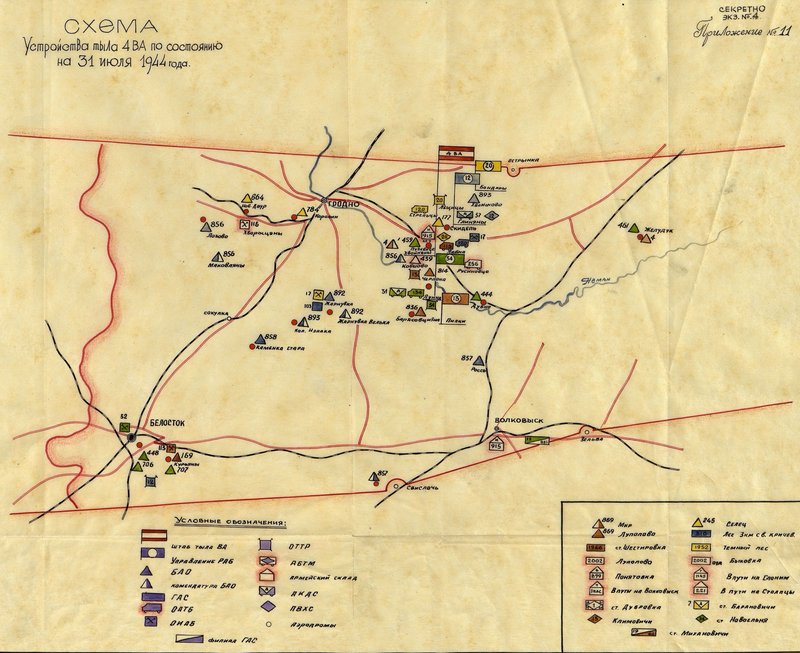
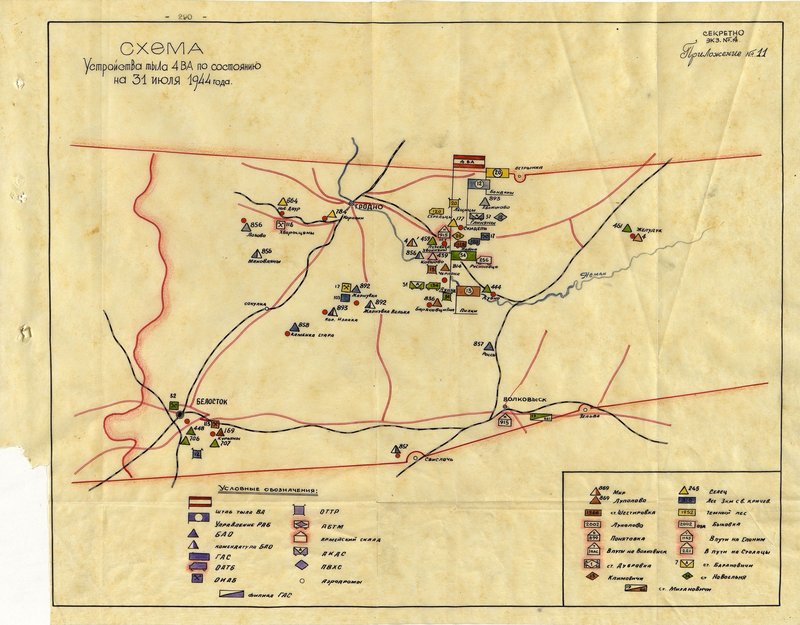
Image: Diagram of the rear arrangement of the 4th Air Army (V.A.) as of July 31, 1944
Original image: Diagram of the rear arrangement of the 4th Air Army (V.A.) as of July 31, 1944
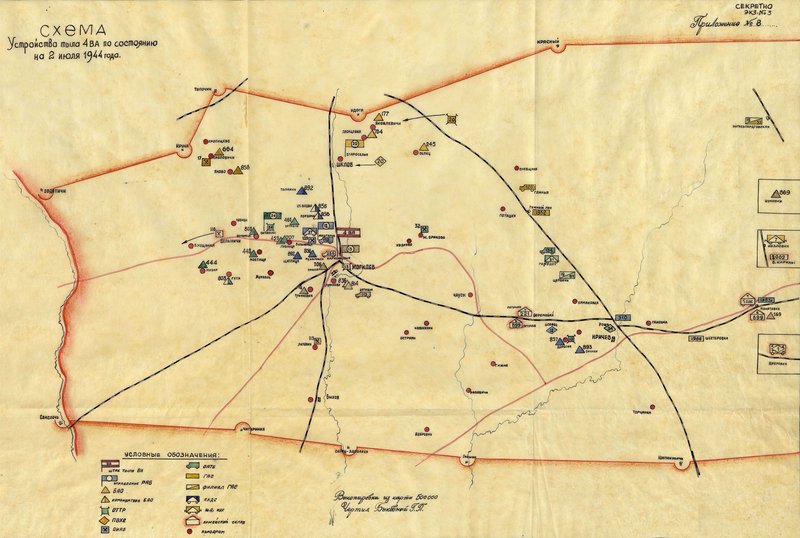
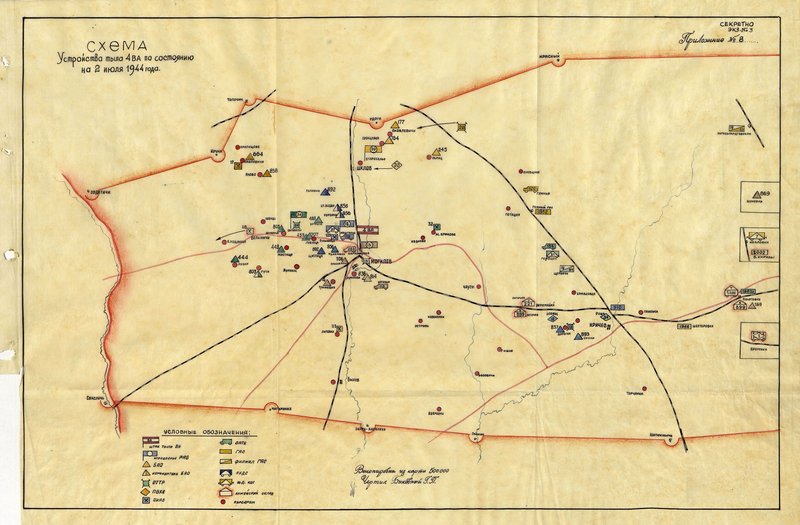
Image: Diagram of the rear arrangement of the 4th Air Army (V.A.) as of July 2, 1944
Original image: Diagram of the rear arrangement of the 4th Air Army (V.A.) as of July 2, 1944
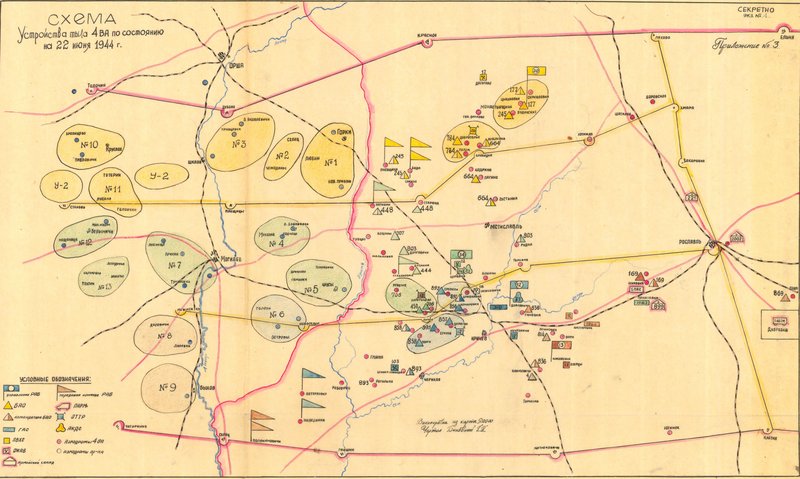
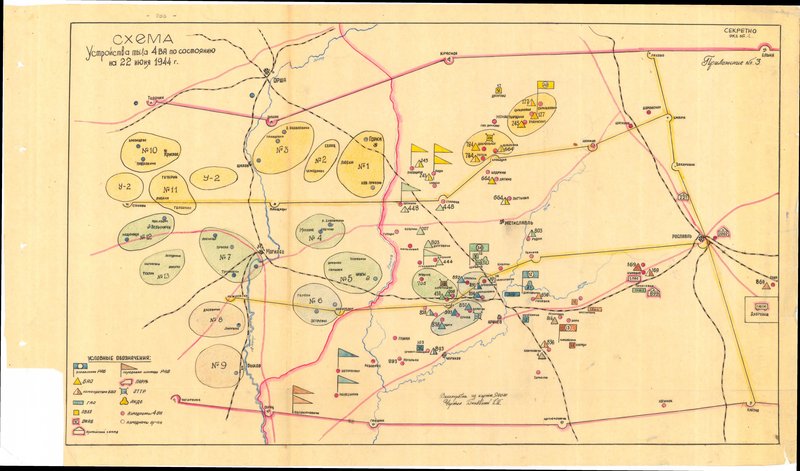
Image: Diagram of the rear arrangement of the 4th Air Army (V.A.) as of June 22, 1944
Original image: Diagram of the rear arrangement of the 4th Air Army (V.A.) as of June 22, 1944
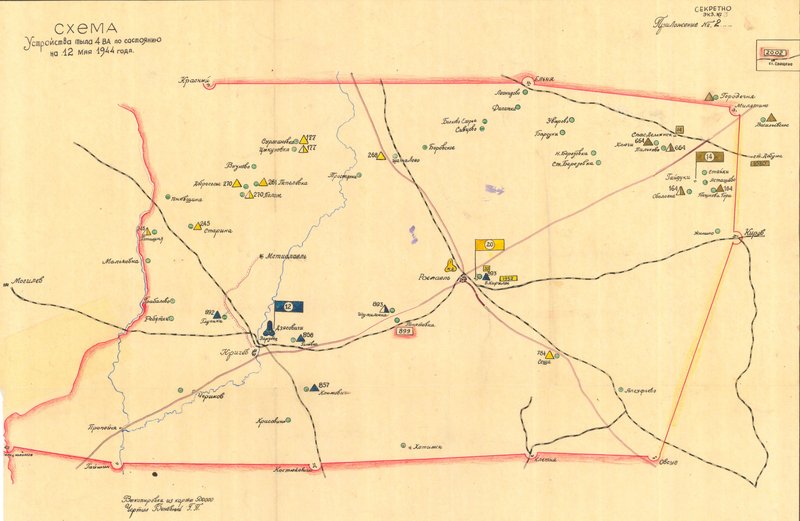
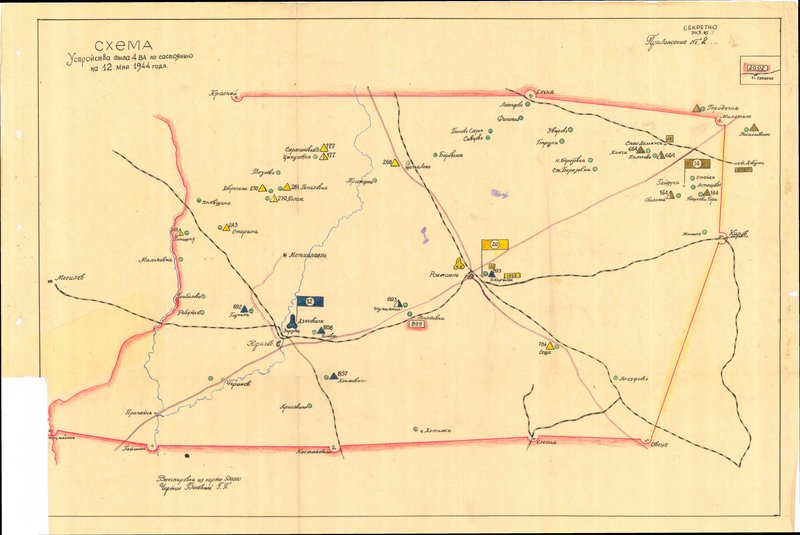
Image: Diagram of the rear arrangement of the 4th Air Army (V.A.) as of May 12, 1944
Original image: Diagram of the rear arrangement of the 4th Air Army (V.A.) as of May 12, 1944
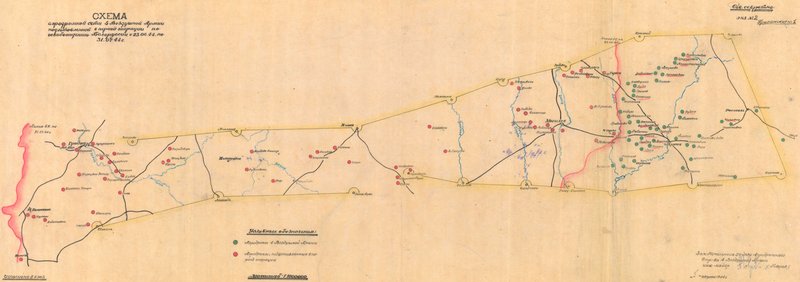
Image: Scheme of the airfield network of the 4th Air Army prepared during the operation to liberate Belarus
Original image: Diagram of the rear arrangement of the 4th Air Army (V.A.) as of July 2, 1944

Original image: Diagram of the rear arrangement of the 4th Air Army (V.A.) as of July 2, 1944

Original image: Diagram of the rear arrangement of the 4th Air Army (V.A.) as of July 2, 1944

0 comment
Author
Unknown
Source
The central archive of the Ministry of Defence

2026 © Russian Military Historical Society Developed by Jetmix